Chiropractic care for basketball players offers injury prevention, improved mobility, and faster recovery to elevate your game.
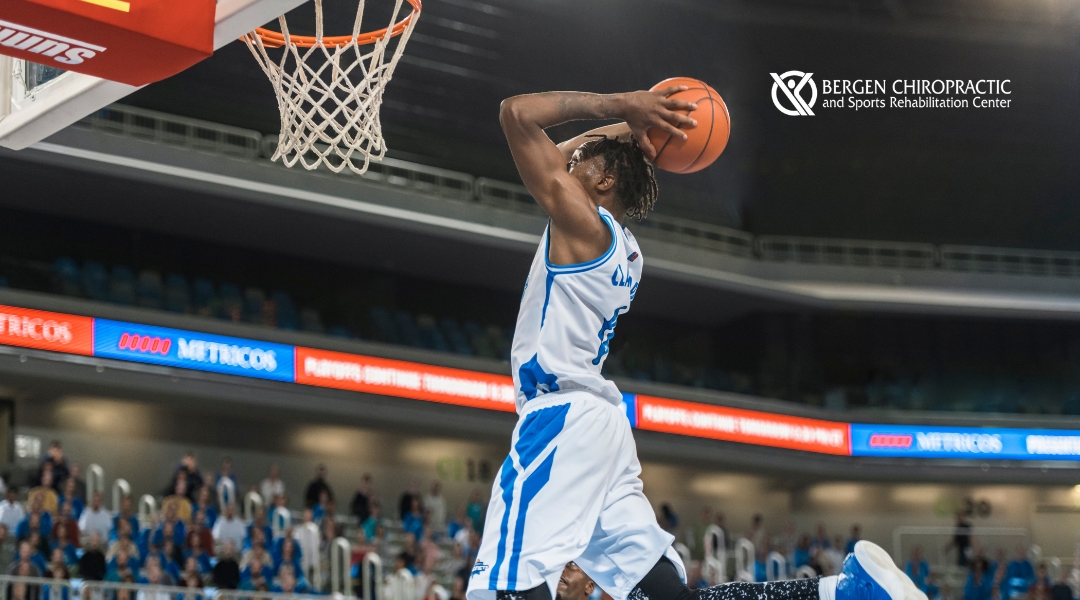
Chiropractic care for basketball players offers injury prevention, improved mobility, and faster recovery to elevate your game.
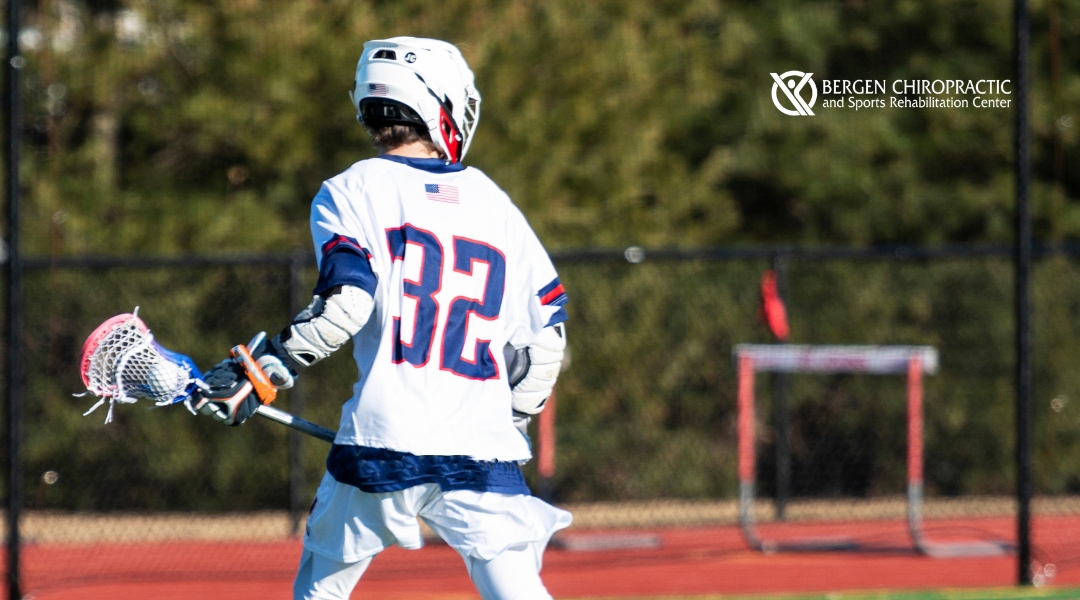
Chiropractic care for lacrosse players offers key benefits like injury prevention, improved recovery, and enhanced flexibility to keep athletes at their best.

Relieve back spasms with chiropractic care, addressing the root cause to reduce pain, improve mobility, and prevent future flare-ups for lasting relief.

Relieve winter back pain with chiropractic care, helping seniors improve mobility, reduce stiffness, and enjoy a pain-free, active spring season.

Ease winter stiffness and prepare for spring with chiropractic care, improving mobility, reducing tension, and keeping your body strong and flexible.
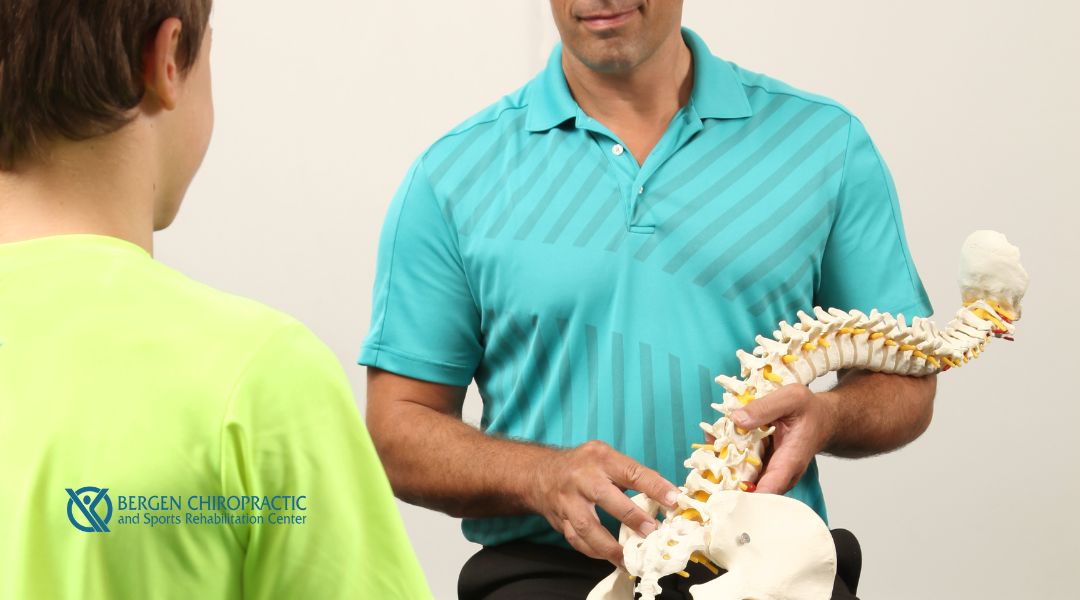
Chiropractic care helps kids build a strong foundation for sports by improving alignment, preventing injuries, and enhancing performance before joining a team.
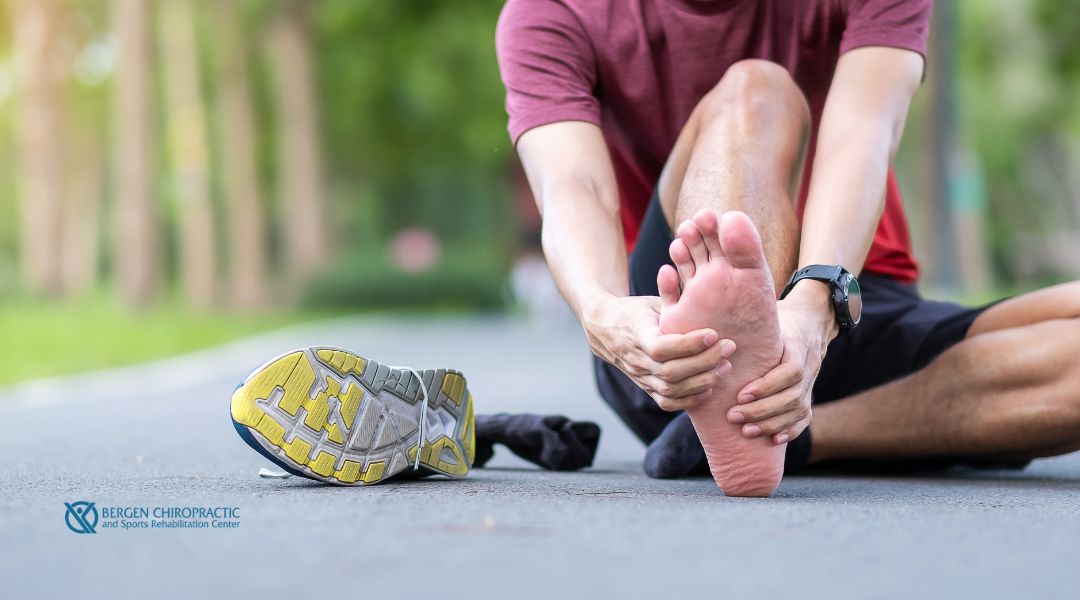
Speed up recovery from plantar fasciitis with chiropractic care—learn how runners can relieve pain, improve mobility, and get back to training faster.

Relieve springtime headaches with chiropractic care—learn how weather changes trigger pain and what treatments help restore balance and comfort.
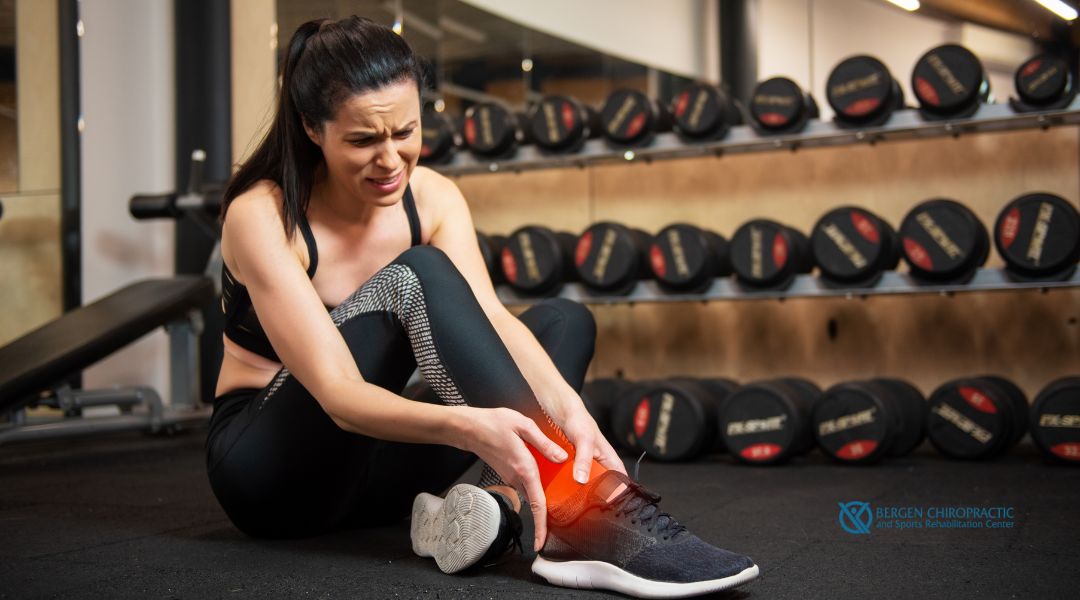
Ease seasonal ankle pain with expert chiropractic care in New Jersey—learn how Bergen Chiropractic helps you stay active and pain-free this spring.
Learn the top five health issues chiropractors treat in Hackensack and Cliffside Park, NJ, from back pain to migraines, and how chiropractic care can help.