Ease IT Band Syndrome pain with expert chiropractic care in Bergen County, NJ. Learn about proven treatments to help you recover and get back to activity.
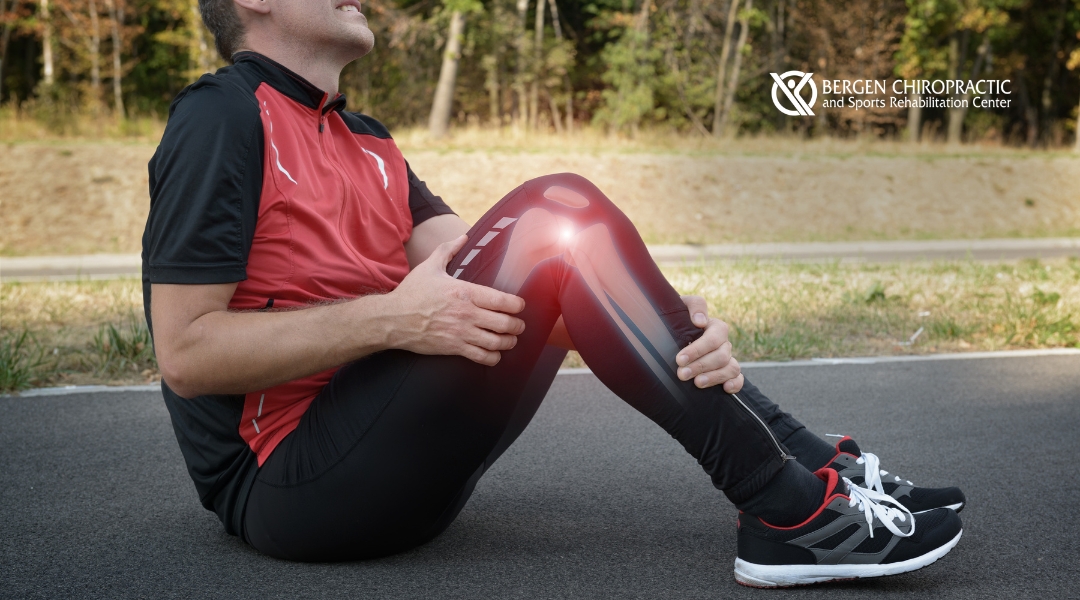
Ease IT Band Syndrome pain with expert chiropractic care in Bergen County, NJ. Learn about proven treatments to help you recover and get back to activity.
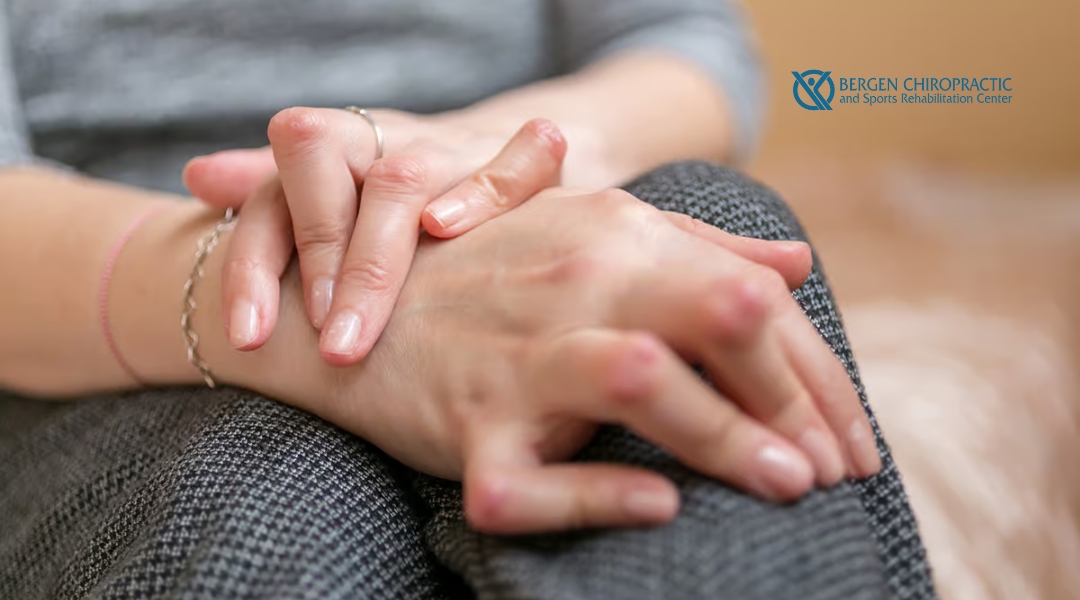
Chiropractic care eases RA joint pain, improves mobility, and complements your holistic rheumatoid arthritis treatment plan.
Learn how chiropractic care safely eases hand numbness during pregnancy at Bergen Chiropractic.
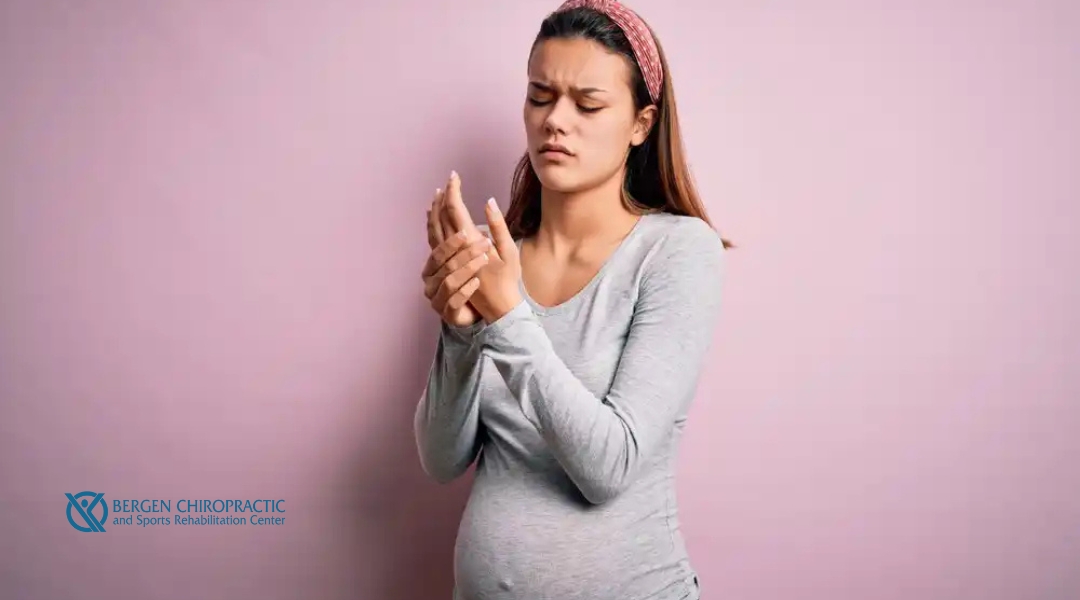
Relieve pregnancy hand numbness with expert chiropractic care and gentle techniques at Bergen Chiropractic.
Chiropractic care eases prenatal joint pain with safe, effective solutions for expectant mothers at Bergen Chiropractic.
Enhance your chiropractic skills with expert training at Bergen Chiropractic in Bergen County, NJ, designed for practitioners seeking to expand their expertise.
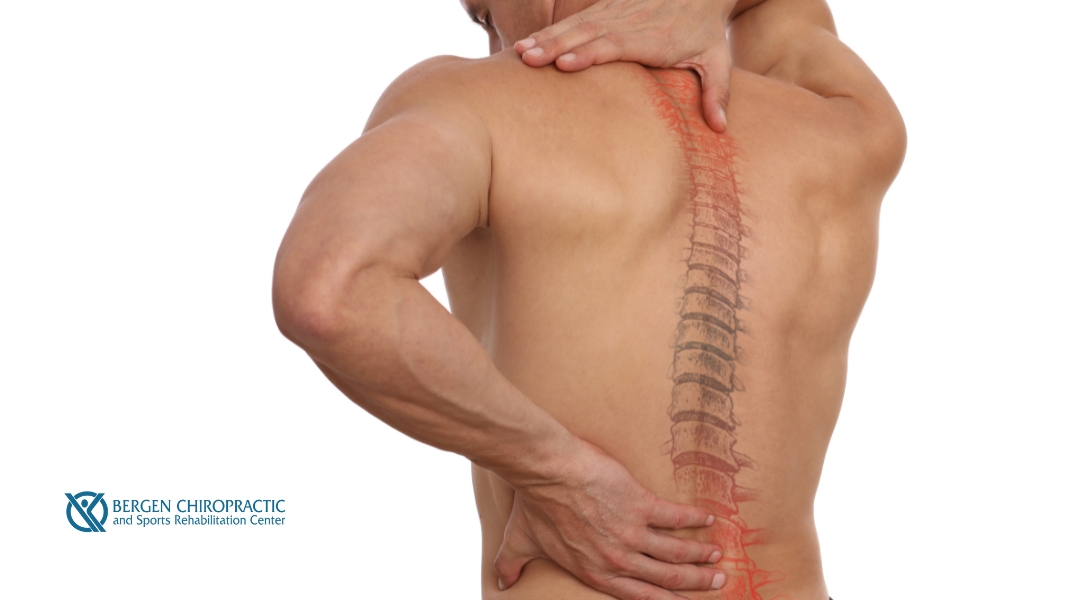
Learn how a local chiropractor in Bergen County, NJ, can help relieve hip pain with effective, natural treatments tailored to your needs.
Chiropractic care helps athletes recover from skiing injuries, offering pain relief and improved mobility for a smoother, faster return to the slopes.
Chiropractic care can help mothers heal from C-section scars, easing discomfort and promoting recovery for a healthier, more comfortable postpartum experience.

Ready to enjoy the outdoors this spring? Chiropractic care for outdoor enthusiasts improves flexibility, prevents injuries, and supports better movement.